Deploy dist folder to GitHub Pages with CircleCI
October 07, 2018
I would like to share how to automatically publish the generated (dist) folder
to GitHub pages with the help of CircleCI. This is not a git subtree-based
solution because keeping automatically generated content in Git repo is… meh.
Our pre-requisites are:
distfolder is automatically generated by a script on CIdistfolder is excluded from Git repo by.gitignoregh-pagesgets auto refreshed with the latest content fromdistfolder on each commit
The current blog is successfully working with the same principles. You can check the CI configuration out here.
Bash script file
First of all, we are going to create a bash script and save it in
.circleci/push-gh-pages.sh.
#!/bin/sh

[ ! -z "$GH_NAME" ] && git config user.name "$GH_NAME"
[ ! -z "$GH_EMAIL" ] && git config user.email "$GH_EMAIL"

MAIN_BRANCH=$(git symbolic-ref --short HEAD)
DIST="${1:-dist}";

git stash
git branch --delete --force gh-pages
git checkout --orphan gh-pages
git add -f $DIST
git commit -m "Rebuild GitHub pages [ci skip]"
git filter-branch -f --prune-empty --subdirectory-filter $DIST && git push -f origin gh-pages
git checkout $MAIN_BRANCH
git stash apply || :
Don’t forget to give the script necessary permissions.
$ chmod +x .circleci/push-gh-pages.shCircleCI config file
It’s time to create/update CI config file .circleci/config.yml.
I commented # docker image and # necessary steps to create a dist folder
because images and steps could vary from project to project. If you’re wondering
how it’s done for this blog you can refer to
this config .
version: 2
jobs:
  build:
    docker:
      - image: # docker image
    working_directory: ~/repo
    branches:
      only:
        - master
    steps:
      - checkout
      # necessary steps to create a dist folder
      - run: sh .circleci/push-gh-pages.sh dist
Btw it’s not necessary to have a dist folder as a provider for gh-pages. You
can provide any folder to .circleci/push-gh-pages.sh. Ex:
sh .circleci/push-gh-pages.sh docs. You don’t have to provide any folder name
(ex sh .circleci/push-gh-pages.sh) and it will default to dist.
Set up project in CircleCI
After registering with your GitHub account you can click Add Projects button
in the navigation panel.
Find the needed project in the list and click Set Up Project.
Set up necessary preferences and click Start Building.
We’re almost there.
Now you should go to the project settings by clicking
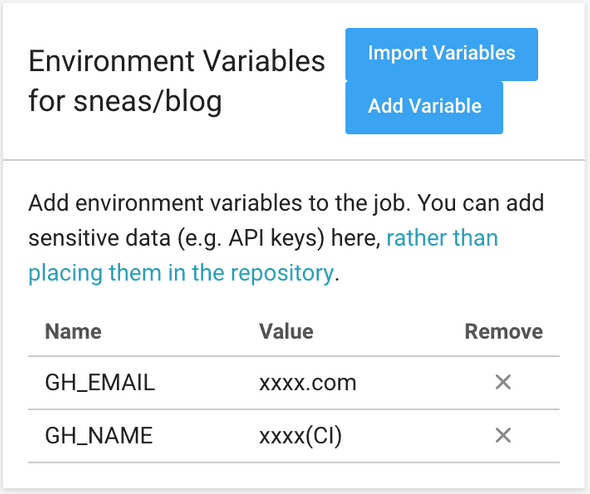
Go to Environment Variables and set up GH_NAME and GH_EMAIL variables.
These are name and email being used for committing to gh-pages. You can use
your GitHub email and name suffixed with (CI).
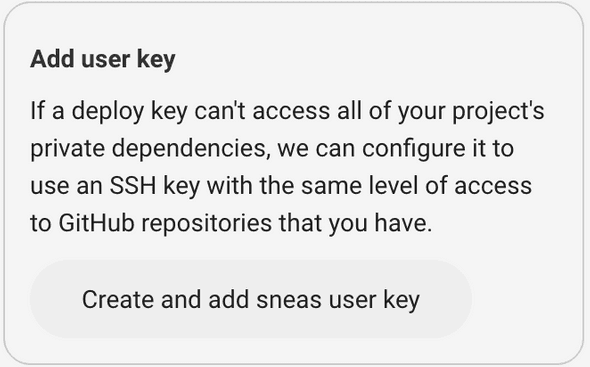
Now you can go to Checkout SSH Keys section of project settings and click
Create and add user key button.
We’re done. Now you can get to your project, click on the latest build and click
the Rebuild button.


